- Assessment of the assembly
- without physical references such as master jig, cubing or mock-up
- Easy handling
- and low setup requirements
Quick and easy analysis of assembly through virtualization
Quick and easy analysis of assembly through virtualization
The challenge
In assembly, the individual produced parts are analyzed and put together into assemblies or the complete product. In the automotive industry, for example, complex holding fixtures such as master jig and cubing are often used for this purpose.
The analysis during assembly typically checks:
- How well different parts from production fit together. This indicates whether they can be assembled without any problems.
- How well an individual part from production (actual) fits into the CAD model (nominal) of the assembly. This again indicates whether the production process is under control or whether parts from different sources can be assembled.
During conventional assembly analyses, the single parts are hold in the required position by fixtures and then measured. Fixtures used in the automotive industry, such as master jig and cubing, require experience and expert knowledge. They are also expensive.
The solution
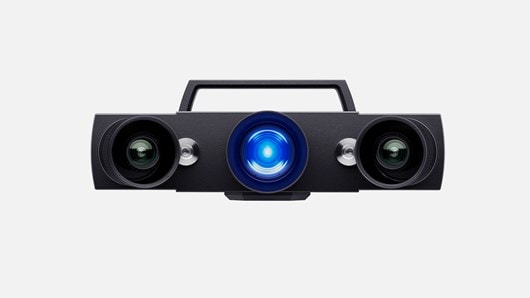
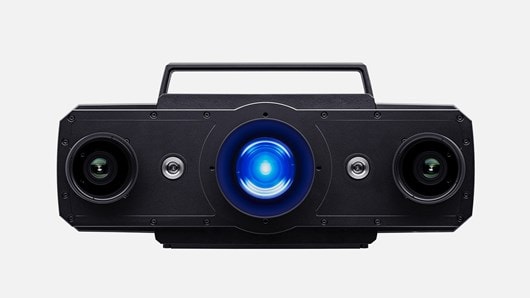
Thanks to the ATOS system, these physical fixtures are no longer necessary: The user scans all single parts of the assembly separately and entirely in 3D. The models generated from these measurements can be automatically placed at the right position in a global coordinate system with the GOM Inspect Software. Then they can be virtually aligned. In this way, the virtual assembly can be realized.
This virtual assembly can be analyzed in many ways. Important questions for this are:
- Are the functional dimensions of the parts correct?
- Are gap sizes and flush of the assembly correct?
- Does the optical image of the assembly meet the requirements?
The user can compare every produced part with other real parts and with the CAD model. This comparison ensures that the parts can be assembled without having to rework them. It also ensures that every part can be exchanged in the assembly. This means that parts produced on other production sites or parts from different suppliers can be assembled as well.
The benefits
- Quick and easy identification
- of poor fit
- Interchangeability of parts
- in assemblies is guaranteed


