- Precise full-field acquisition
- of 3D geometries of models, parts and tools
Reverse engineering of models, parts and tools
Reverse engineering of models, parts and tools
The challenge
In certain situations, it is necessary to scan the 3D geometries of a physical model, a part, or a tool to create corresponding CAD data.
In the automotive industry, for example, the designers design the outer shape of a new car as a physical model with modeling clay. These design models must be converted into digital data, so that the designer can continue to work on it in a CAD program.
Another challenge is to remanufacture or repair old or defective parts and tools for which no design drawing or CAD data set exists. This happens based on a CAD design. Therefore, respective geometry data of these parts or shapes is also needed here.
The solution
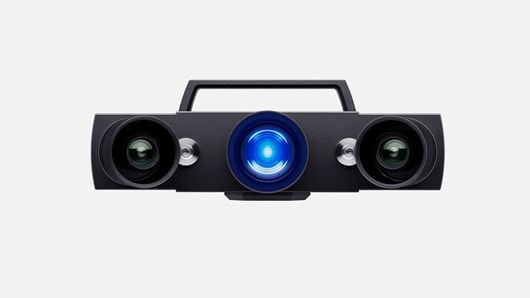
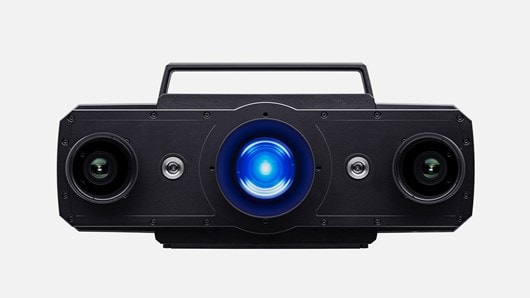
ATOS makes it possible: The ATOS system enables fast full-field scanning and geometry acquisition of real objects. The resulting measuring data forms the basis for creating CAD data of these objects via polygonization and surface reconstruction (reverse engineering).
When the object and its geometry is scanned, the engineer can process the 3D geometries in the CAD software package as a CAD model.
The benefits
- Surface reconstruction
- of standard geometries and freeform surfaces
- Faster transition from idea to product
- for outer skins of design models


