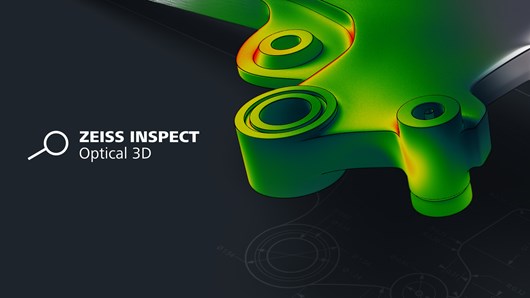
- Representation of surface defects
- to visualize the need for post-processing
Effective post-processing
Effective post-processing
The challenge
3D printed metal parts often have to be reworked to give them precise functions so that they can be joined to other parts. However, it is often difficult to assess whether finishing is necessary and how to compute the exact amount of excess material on a complex 3D printed part.
Moreover, clamping a 3D printed part for post-processing in a CNC machine and defining the origin are steps that are usually carried out manually. That makes the process time-consuming and imprecise.
The solution
Optical metrology and 3D inspection can help in this situation. A few examples:
- Before the finishing stage, the GOM software can display the surface defects of the scanned part in the form of a surface defect map, which helps the user assess the need for post-processing.
- 3D digitization of the part in its clamped state makes it easy to define the origins and alignment in the GOM Inspect software. The software transmits the relevant values to the CNC milling machine.
- Clamping and surface finishing have an impact on the part’s dimensions. 3D scanning is therefore also useful before and after post-processing to track dimension deviations at every process step.
The benefits
- Fast, precise definition
- of excess material
- Fast, precise definition
- of the origins of the 3D printed part in its clamped state


