Topics
Topics

Sheet Metal Forming
With the aid of optical metrology, the sheet metal forming process is used for quality assurance in various industrial sectors.
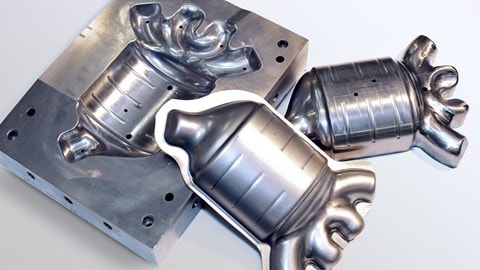
Deep drawing
With the aid of optical metroloy, the deep drawing process is used for quality assurance in various industrial sectors.
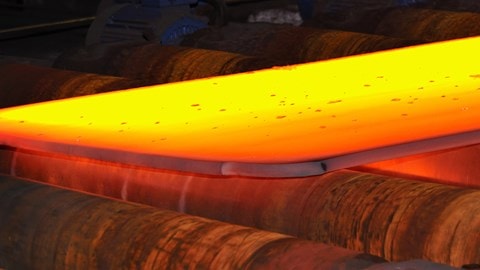
Hot forming
With the aid of optical metrology, the hot forming process is used for quality assurance in various industrial sectors.
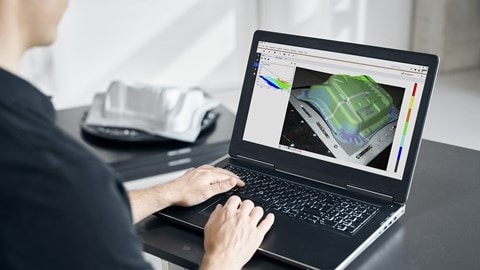
Cold forming
With the aid of optical metrology, the cold forming process is used for quality assurance in various industrial sectors.
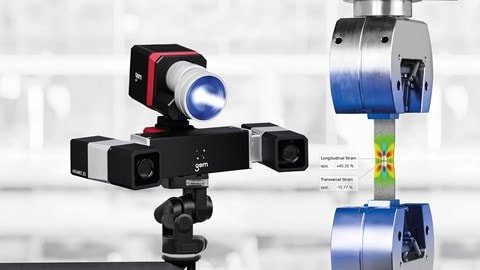
Tensile Test
With the aid of optical metrology, the tensile test method is used for quality assurance in various industrial sectors.

Nondestructive Testing
With the aid of optical metrology, nondestructive material testing is used for quality assurance in industrial areas.
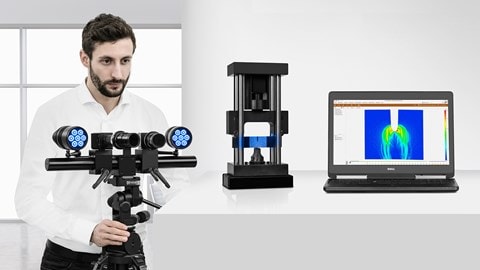
Bend test
With the aid of optical metrology, the tensile test method is used for quality assurance in various industrial sectors.
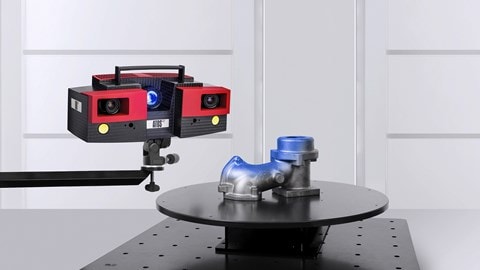
Coaxiality
Adhering to positional tolerances such as coaxiality is necessary for rotating components to run smoothly.
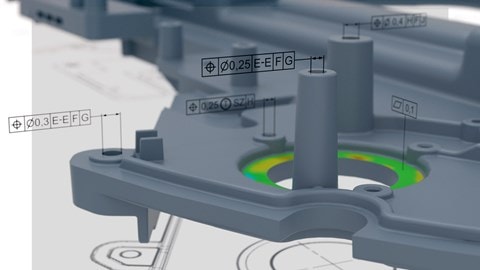
Concentricity
Concentricity is part of coaxiality. While the check of coaxiality includes the axes, the check of concentricity only includes the center point. These checks usually happen several times on a part.
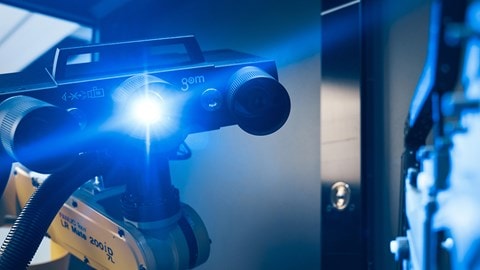
Tactile and optical measurement technology
We show the advantages, differences and application areas of tactile and optical measuring methods.
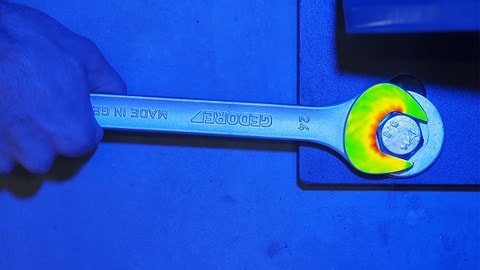
FEM-Simulation
The finite element method is a based on numerical analyses helps to manufacture durable and highly resilient products. This also ensures optimal operational safety.
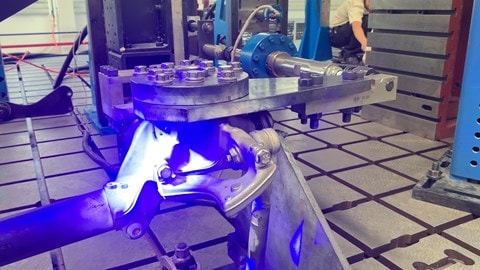
Wöhler fatigue test
In the Wöhler fatigue test, optical 3D measurement technology enhances deformation analysis and helps calculate the fatigue endurance limit and finite-life fatigue strength.
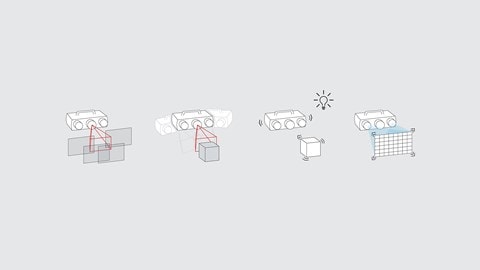
Triangulation
Triangulation is the foundation principle for various measuring procedures: Laser triangulation and fringe projection explained simply.
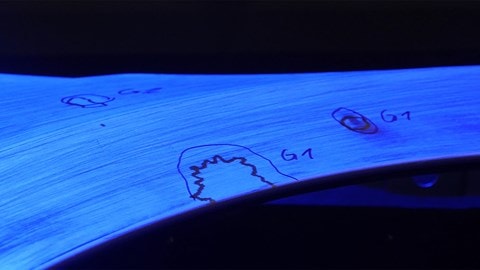
Surface inspection
The surface inspection allows shells of objects to be visually checked. The process is used in industry for quality assurance.
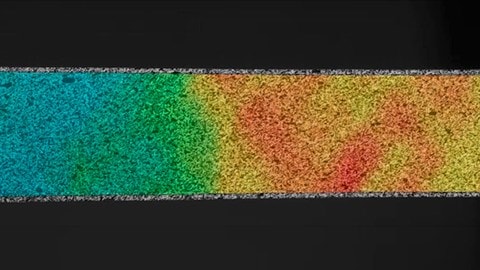
Elongation measurement
Materials can deform under thermal and mechanical effects. An example of such a change in shape is elongation.
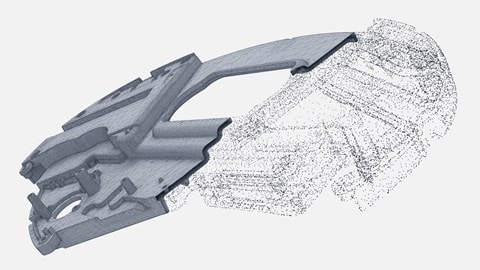
Edit 3D files
Three-dimensional objects are virtually mapped in a 3D file. It forms the basis for further processing for 3D printing.
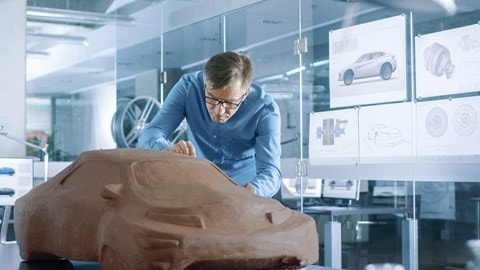
Reverse engineering - surface reconstruction
Generation of CAD data from a volume model of a 3D scan for part and tool design.
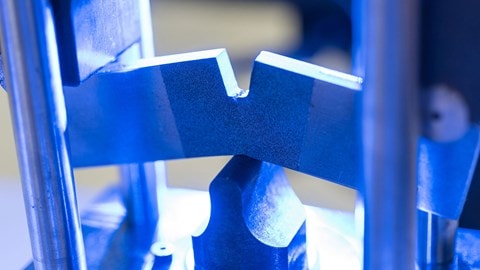
DIC: motion and deformation analysis
The DIC measurement helps to determine 3D displacements and surface strains, 3D velocities and 3D accelerations.
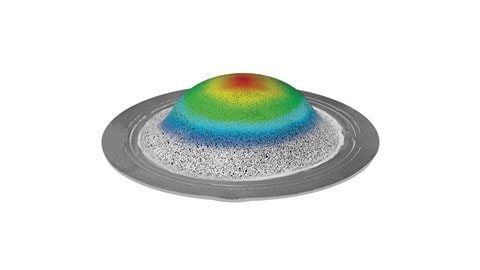
Forming limit curve (FLC)
The forming limit curve describes the maximum formability of sheet metal materials. It is used as a basis for forming analyses.
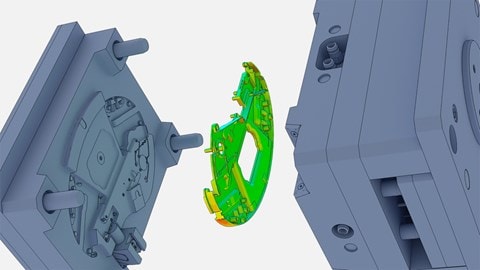
Digital Assembly
Digital assembly enables optimum quality control during the simulated, digital mounting of components.
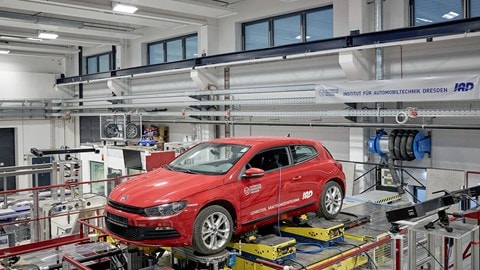
ARAMIS Multisensor DIC Systems
The combination of several ARAMIS sensors or ARAMIS measuring systems are called multisensor systems. Multisensor systems allow time-synchronized measurements from different perspectives that can be evaluated in a common coordinate system.
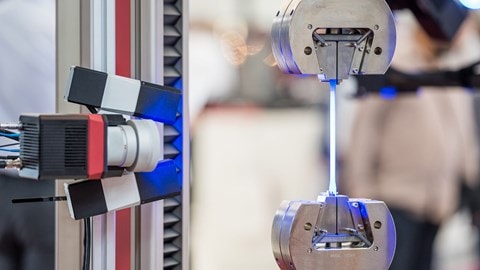
Material testing and component testing
Material testing and component testing are two tfields in the world of mechanical, thermal or chemical testing. During material testing, the behavior and material parameters of material samples are determined.
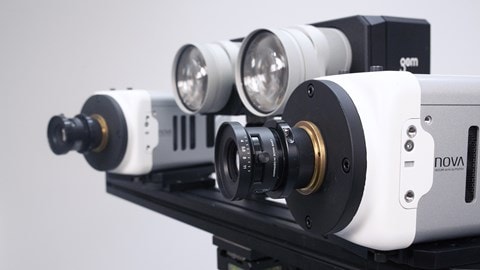
ARAMIS High-Speed DIC Systems
DIC is the abbreviation for digital image correlation. The method is based on principles of the close-range photogrammetry, i.e., images or videos are used for measuring purposes. The use of cameras enables non-contact measurements. With the help of digital image correlation, you can measure strains, displacements, velocities, accelerations and rotations, among others.
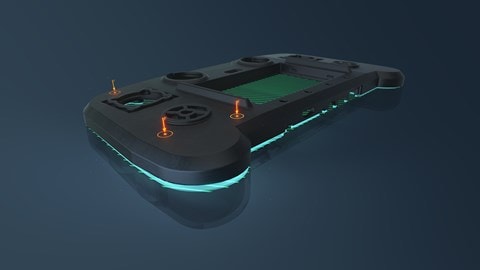
Warpage on injection-molded parts
Reasons for warpage, influencing factors and possible solutions to evaluate warpage on plastic parts in metrology correctly.
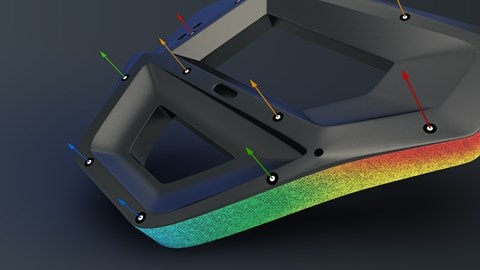
5 reasons to go optical in 3D testing
Non-contact optical measurement technology for analyzing deformation and studying motion in 3D saves time and money.
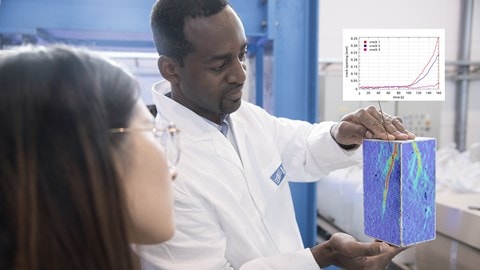
Civil Engineering
In our modern world, civil engineering, or its services, is all around us. We use roads and bridges to get from A to point B. We live in buildings, travel to the closest airport via an excellent rail network, always have fresh drinking water at our disposal and do not give a second thought to water disposal, which works so naturally that we hardly notice it anymore. All these achievements of civilization are based on the creativity and expertise of civil engineers.