- Full-field,
- easily understandable analysis of parts during try-out
Fast tool try-out using digitized try-out parts
Fast tool try-out using digitized try-out parts
The challenge
Once a tool has been manufactured, it is necessary to check how accurately the parts produced with it meet the design requirements.
The solution
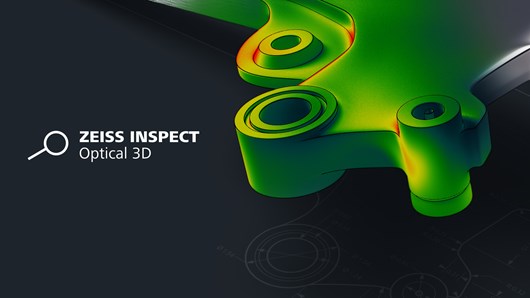
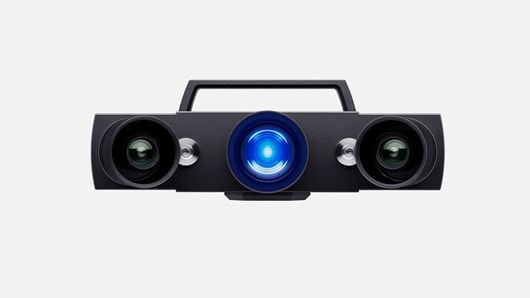
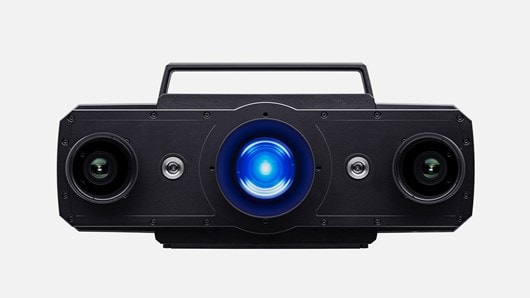
The ATOS system enables the user to perform full-surface 3D digitization of parts during try-out—on site, directly at the pressing plant. This makes it possible to very quickly identify any deviations between the actual geometry of the try-out part and the CAD model. In addition, functional dimensions, springback, trimming, deflection and the hole pattern of the try-out part can be checked in easy-to-understand graphic representations.
By comparing the measurement data with the 3D model of the try-out part, the following can be quickly and easily assessed:
- How correctly does the tool work already?
- Which sections still require changes?
The benefits
- Immediate localization
- of problematic areas in the part geometry
- Ensures the correct geometry,
- the fitting accuracy for stress-free installation and the fulfillment of optical requirements


